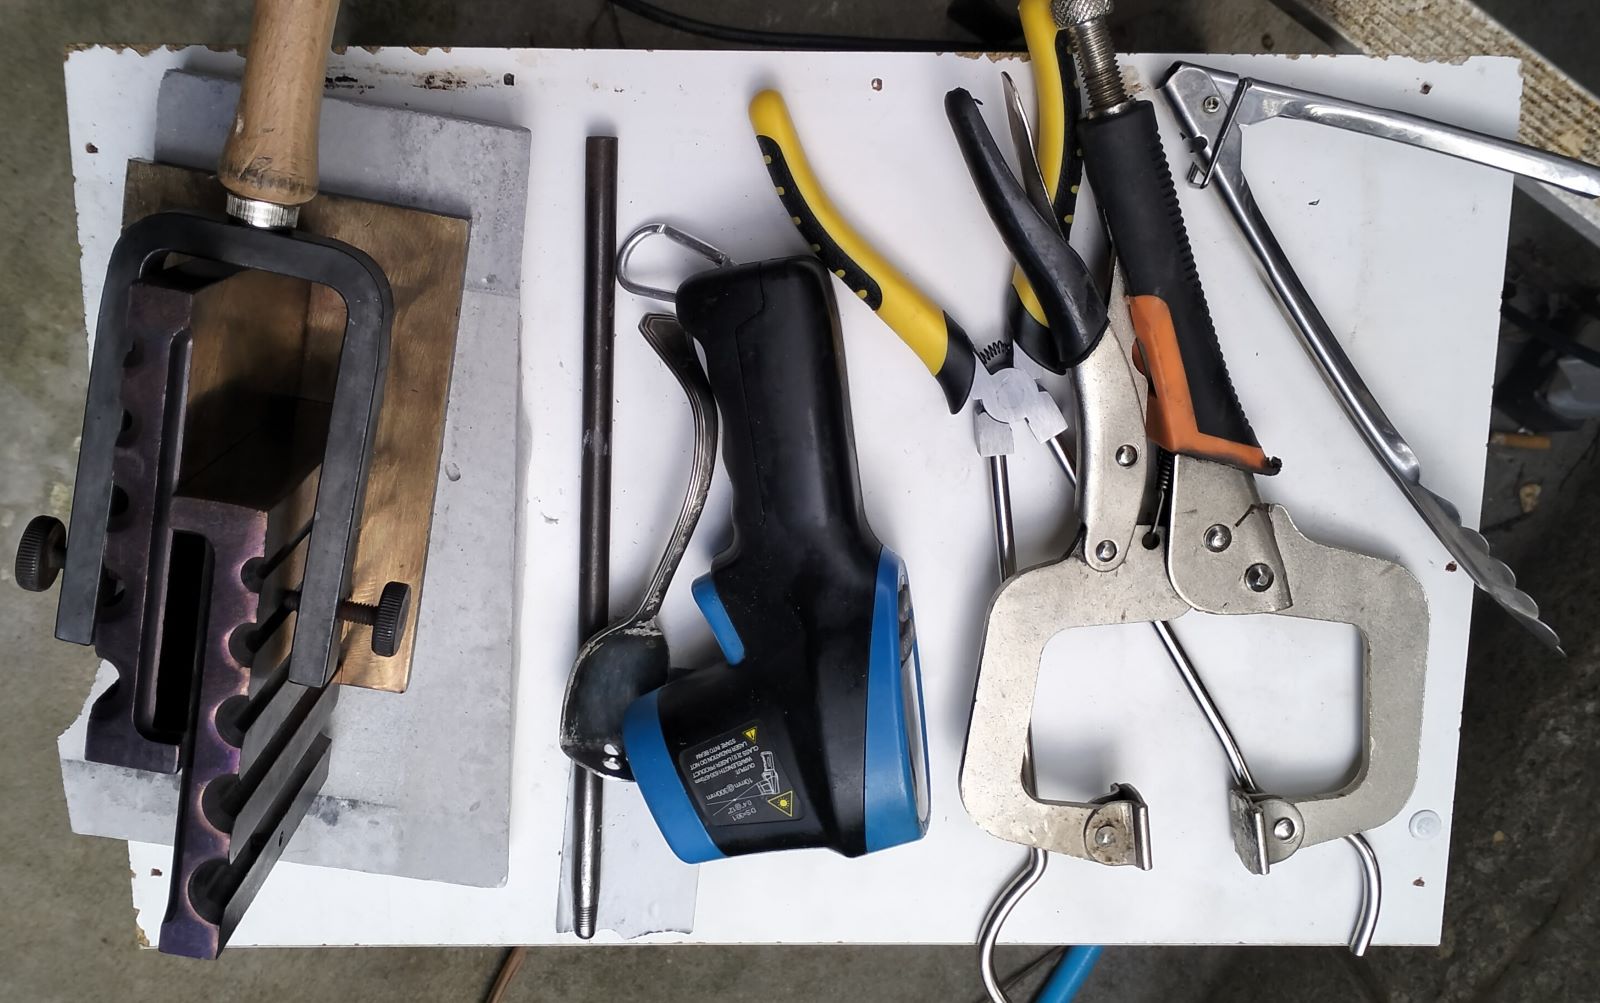
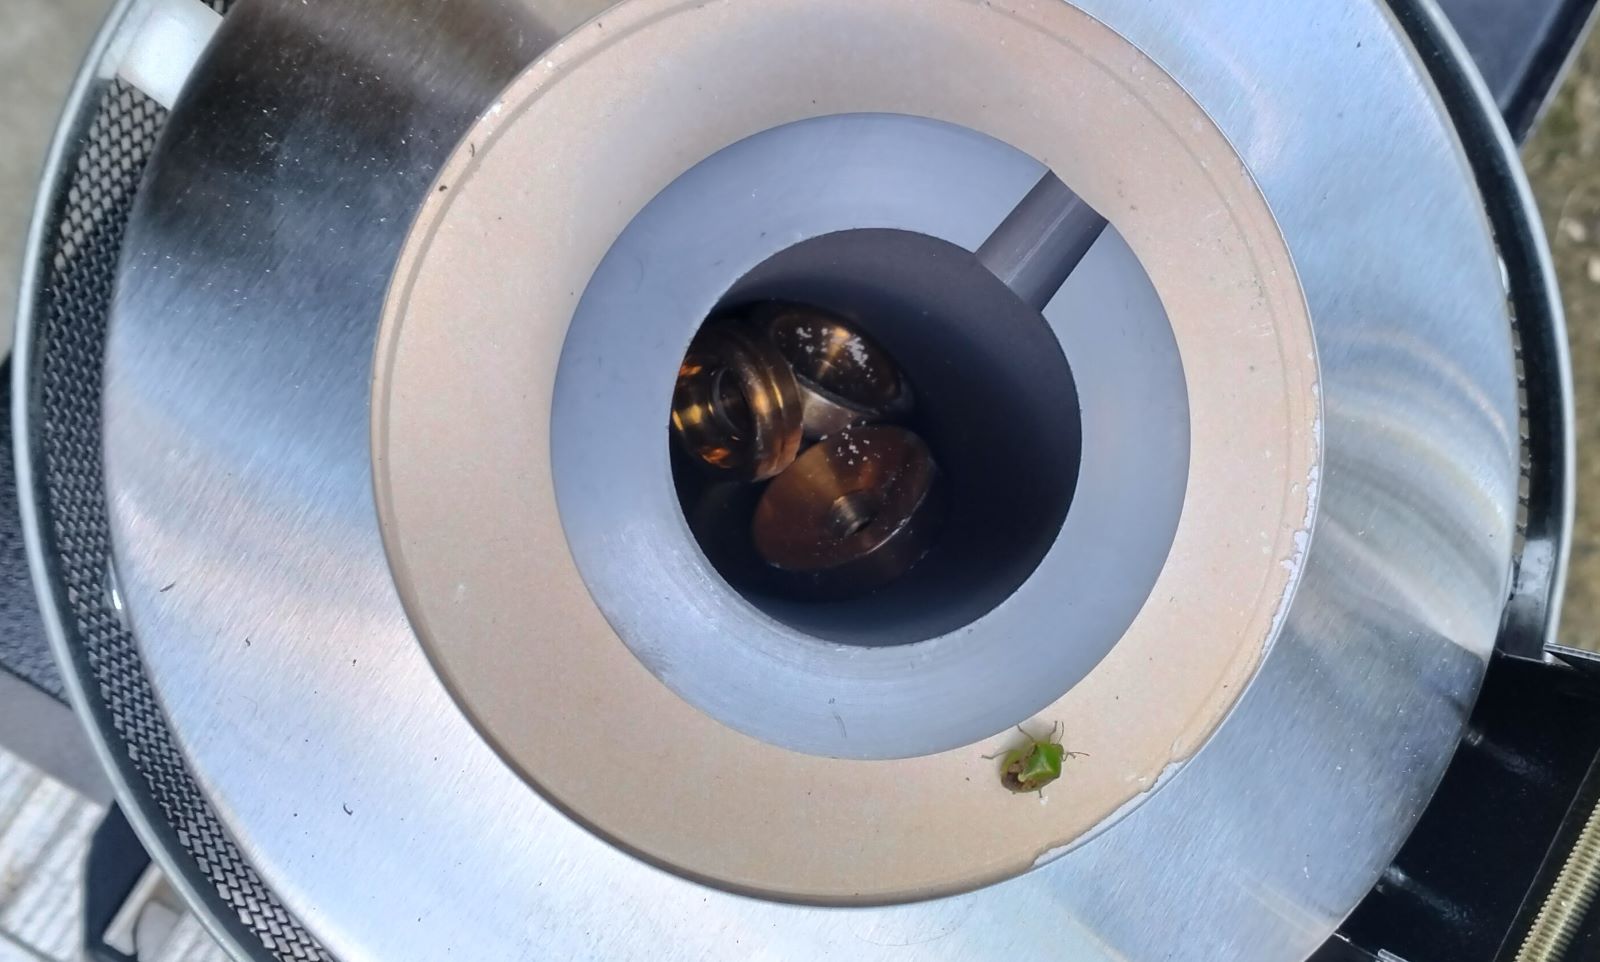
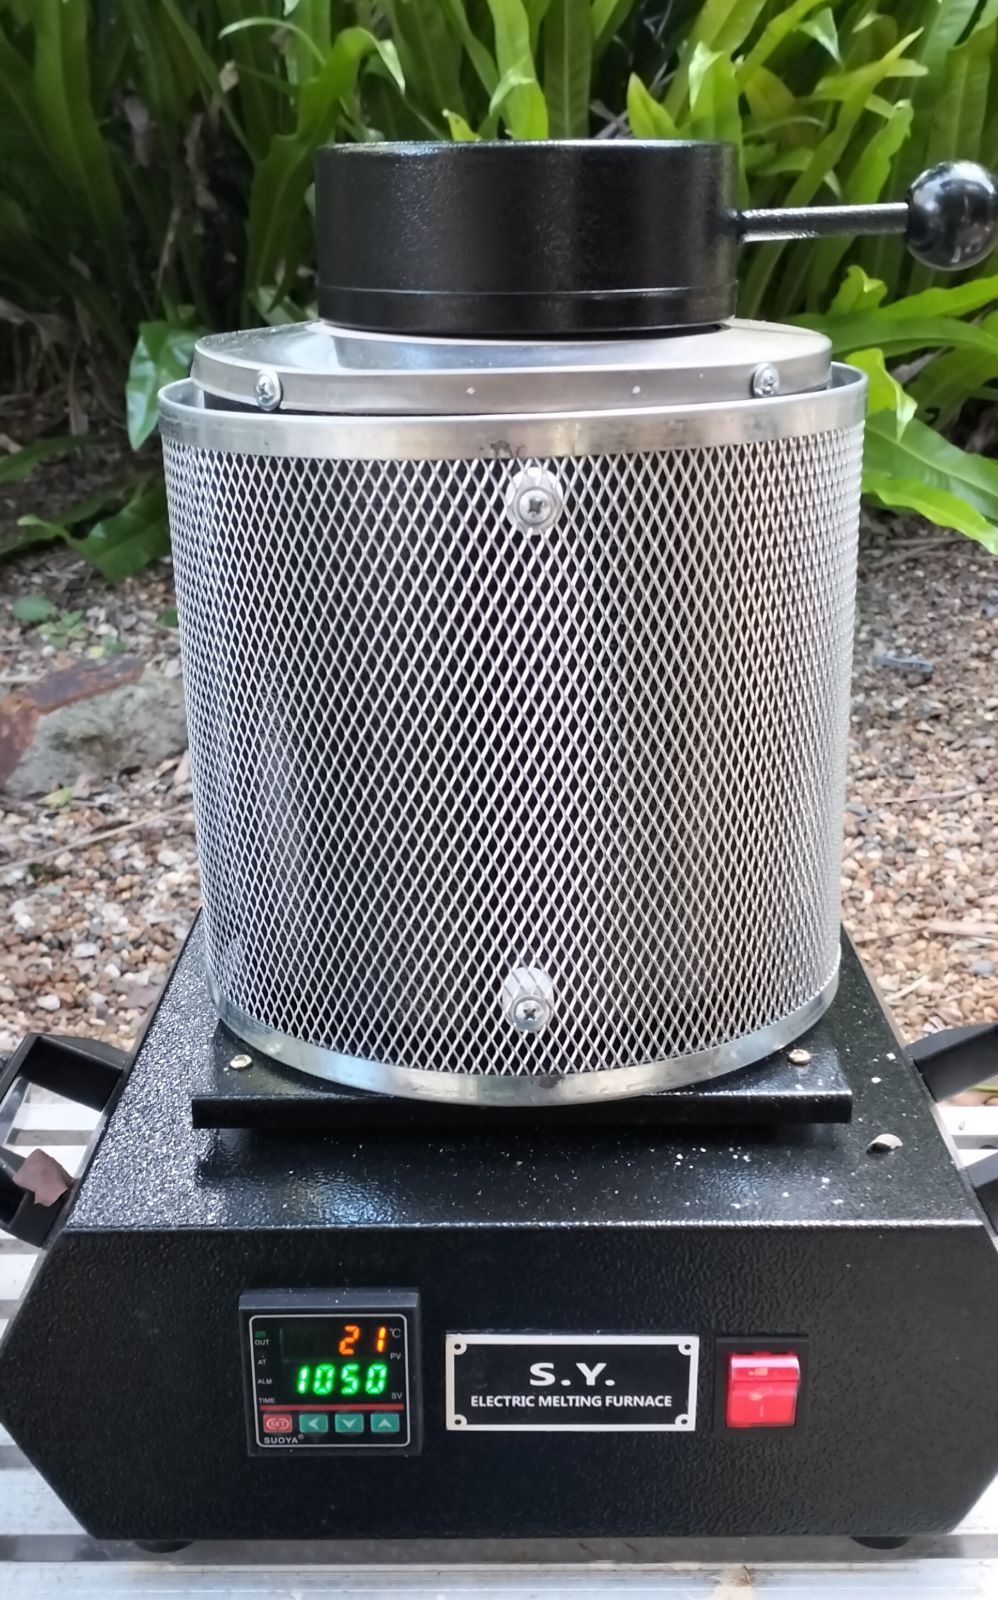
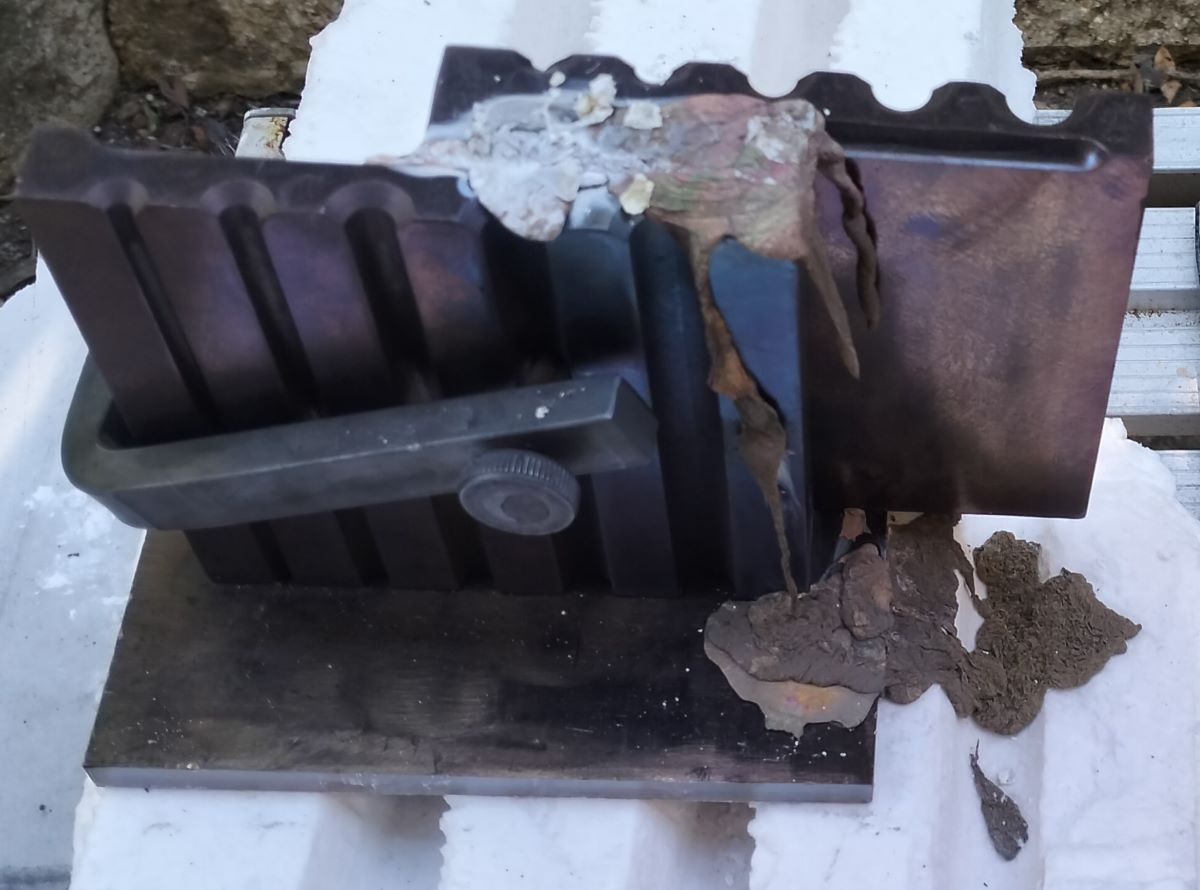
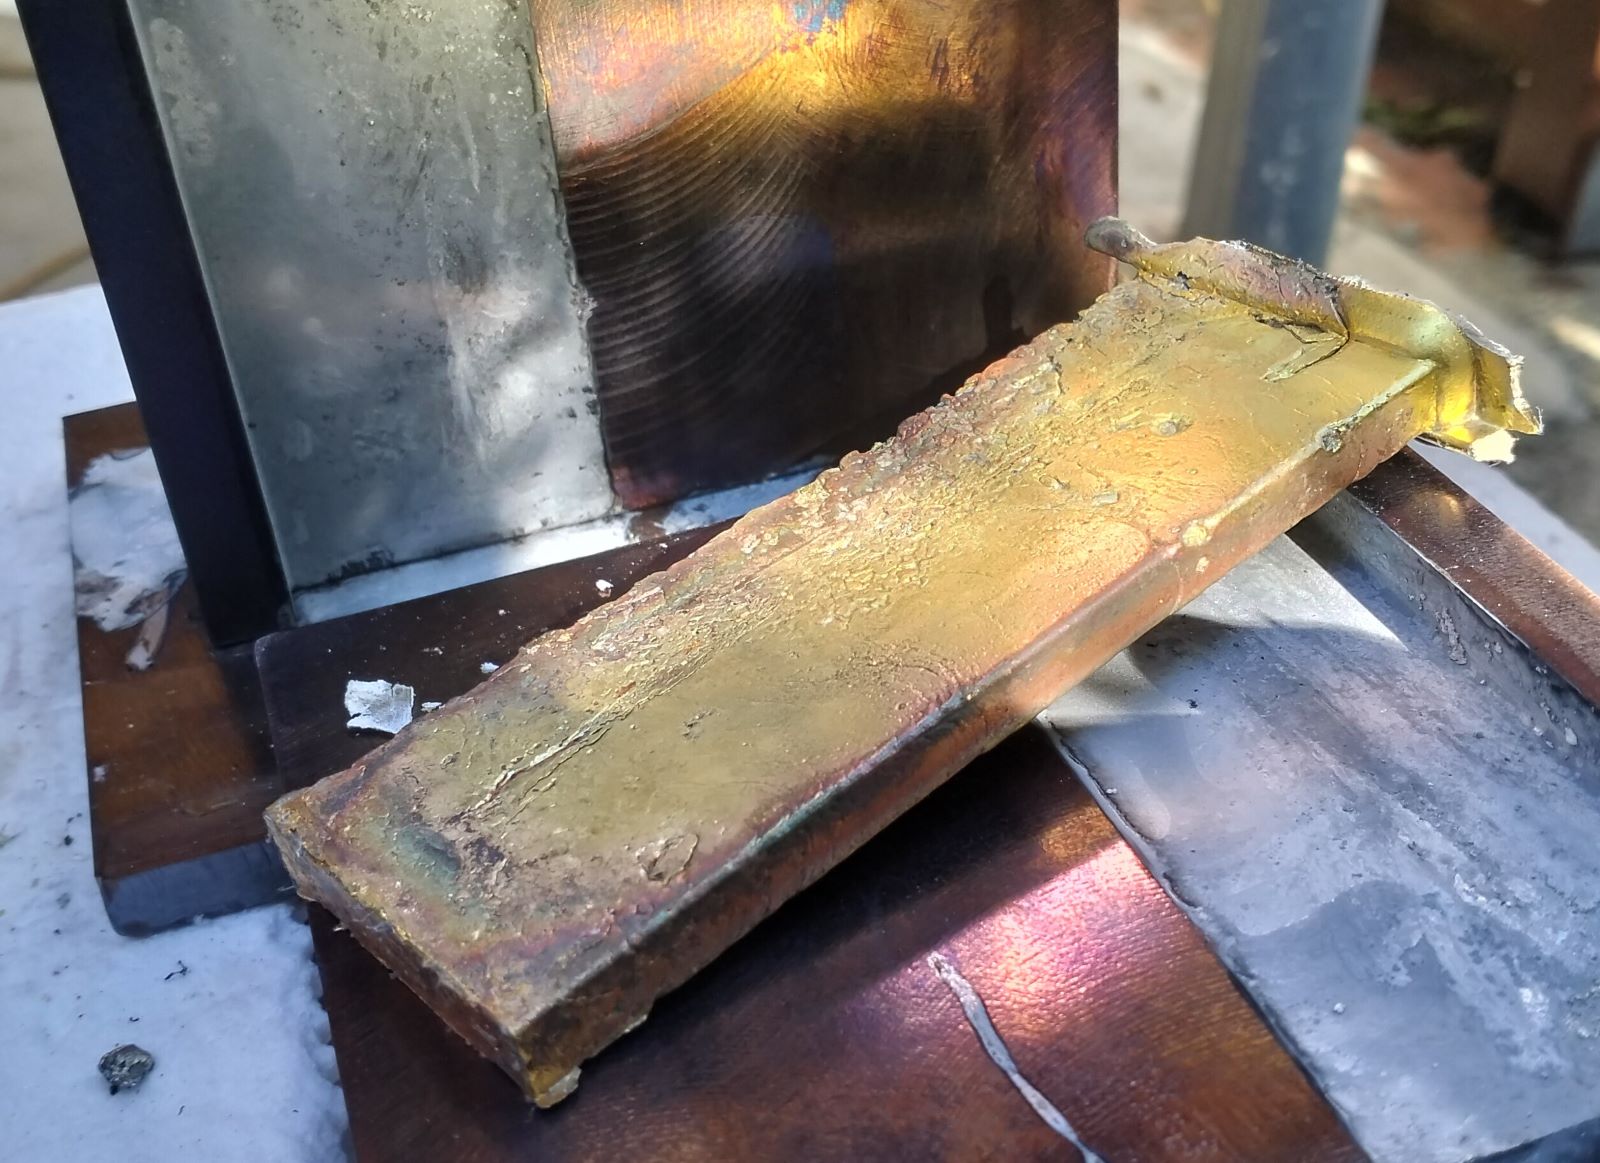
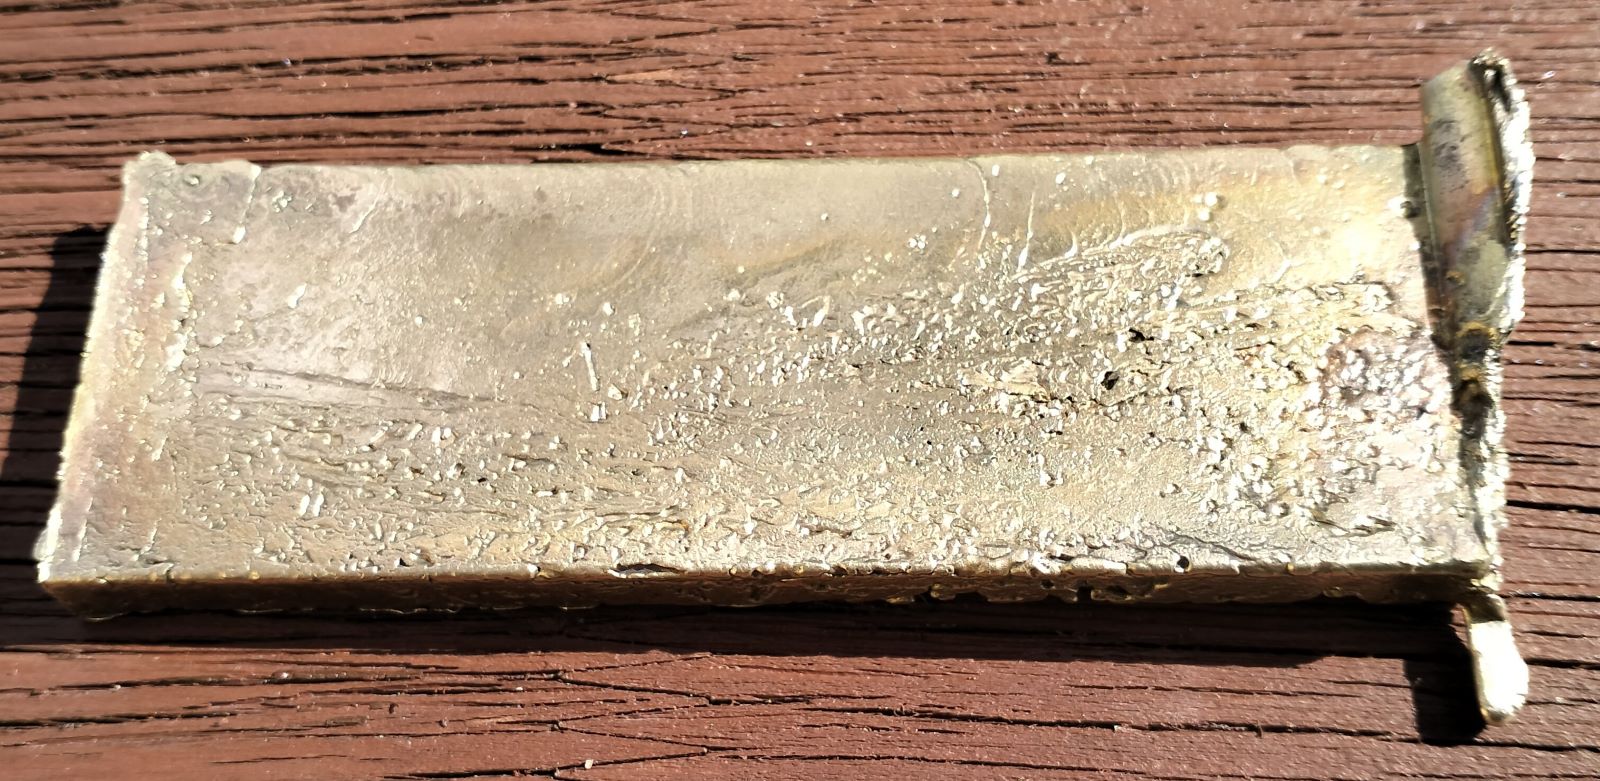
Insights / Metal Casting

From Scrap Metal to Finished Form

Casting is the workshop process of turning offcuts, failed experiments, and raw alloy into new stock, new objects, and better ideas. For Desire3D, it connects the practical side of melting metal with the finer work of machining, finishing, and testing.

The useful life of a failed part

A rejected spinning top, a rough pour, or a bucket of machining offcuts is not simply waste. In a small workshop, those pieces become feedstock for the next experiment. Casting makes that loop visible: material moves from finished part to scrap, from scrap to ingot, from ingot to machined blank, and sometimes back into a better finished object.

Ingot making

Melting scrap into manageable ingots makes later work cleaner and more predictable. Instead of trying to melt awkward shapes every time, the workshop can build a small stockpile of known metal that is easier to weigh, preheat, and add to the crucible.

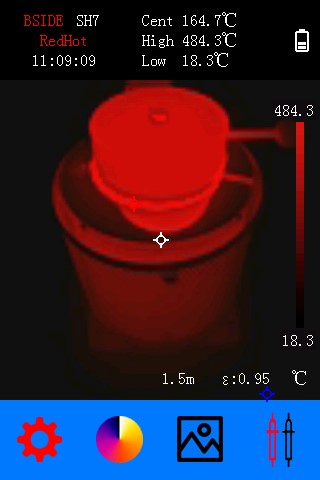
Learning from each pour

Every casting session teaches something: whether the mould was hot enough, whether the metal flowed cleanly, whether the dross was removed well, and whether the final shape cooled without obvious faults. The aim is not perfection on the first try. The aim is repeatability.

A practical casting workflow

The process is deliberately hands-on. It combines simple workshop judgement with increasingly careful control over temperature, tooling, mould preparation, and cooling. The same mindset used for machining tops also applies here: measure what can be measured, watch the behaviour, then change one thing at a time.

1. Prepare the tooling

Before heat is involved, tools, moulds, gloves, tongs, flux, mould placement, and safe movement paths are organised. A casting session is much calmer when every tool already has a purpose and a place.

2. Preheat the mould

Cold steel or damp investment can steal heat from the metal too quickly. Preheating helps the metal flow and reduces the chance of sudden chilling, steam, or thermal shock.

3. Melt and clean the metal

The metal is brought up to pour temperature, fluxed where appropriate, stirred carefully, and skimmed so the cleanest possible metal enters the mould.

4. Pour with intent

The pour is short but important. Hesitation, poor aim, or a mould that is not ready can undo the preparation. A confident pour gives the metal the best chance to fill before freezing.

5. Release and inspect

Once cool enough, the casting is removed and inspected. Surface texture, shrinkage, cold shuts, trapped slag, and incomplete fill all become notes for the next attempt.

6. Reuse the lesson

The result may become a finished part, a machining blank, a sculpture, or simply the next ingot. Either way, the material and the lesson stay in the workshop.

These thumbnails are grouped as a working casting log. Each thumbnail links to the full image using the same filename without _thumb where applicable, so the page should work once the full-size files are added to /casting/images/.

Thermal behaviour matters

The thermal images are not just interesting pictures. They show how much heat is stored in the furnace, mould, and surrounding metal. When casting small workshop parts, the metal can freeze quickly if the mould is too cold, but too much heat can also create its own problems. Watching heat distribution helps turn guesswork into practical process control.

Over time, a page like this can become a proper record of temperatures, furnace settings, mould preheat times, crucible behaviour, and cooling results. That is where casting becomes repeatable rather than simply dramatic.

Furnace heat

The furnace needs enough power and insulation to reach temperature without wasting time or stressing components unnecessarily.

Mould temperature

Mould preheat affects flow, surface finish, and the way the casting freezes from outside to inside.

Cooling behaviour

The release stage reveals whether the part cooled cleanly, shrank badly, stuck to the mould, or needs changes to gating and risers.

Vacuum, burnout, and cleaner future castings

Ingot work and open mould pours are only one part of the story. The next layer is investment casting, where resin or wax patterns are surrounded by investment, burnt out, and filled with metal. That introduces a much longer chain of variables: model design, sprue placement, investment mix, vacuum degassing, burnout schedule, flask temperature, metal temperature, vacuum assist, and release.

Degassing

Removing trapped air helps investment flow into detail and reduces bubble defects against the pattern surface.

Burnout

A controlled burnout schedule clears resin or wax while protecting the mould from sudden thermal shock.

Vacuum assist

Vacuum casting can help fine shapes fill, but the chamber, seals, flask, gasket, and cooling system need deliberate design.

From workshop stock to small bronze objects

The same casting process that supports spinning-top development can also support small bronze sculpture work. Classical forms, small studies, and decorative objects depend on clean metal, good surface detail, careful finishing, and thoughtful presentation. A cast bronze piece does not need to be large to feel significant, but it does need to feel deliberate.

Packaging becomes part of that story. A bronze study in a lined wooden box, with a simple certificate and a protected cradle, feels like a finished object rather than a workshop sample. That is the direction this casting work can grow into: practical metal experiments feeding real pieces that are polished, boxed, and ready to keep.

The road ahead

The goal is not just to melt metal. The goal is to build a process that can be repeated, trusted, and improved. Every test pour, every ingot, every corrected mistake, and every finished object makes the next casting session more deliberate.